01 · Directed growth
Reserves close to the surface.
02 · A nutrient connection
Contact in the right place.
03 · Soil to preserve
The inoculum is removed between seasons.
What changes with the POD?
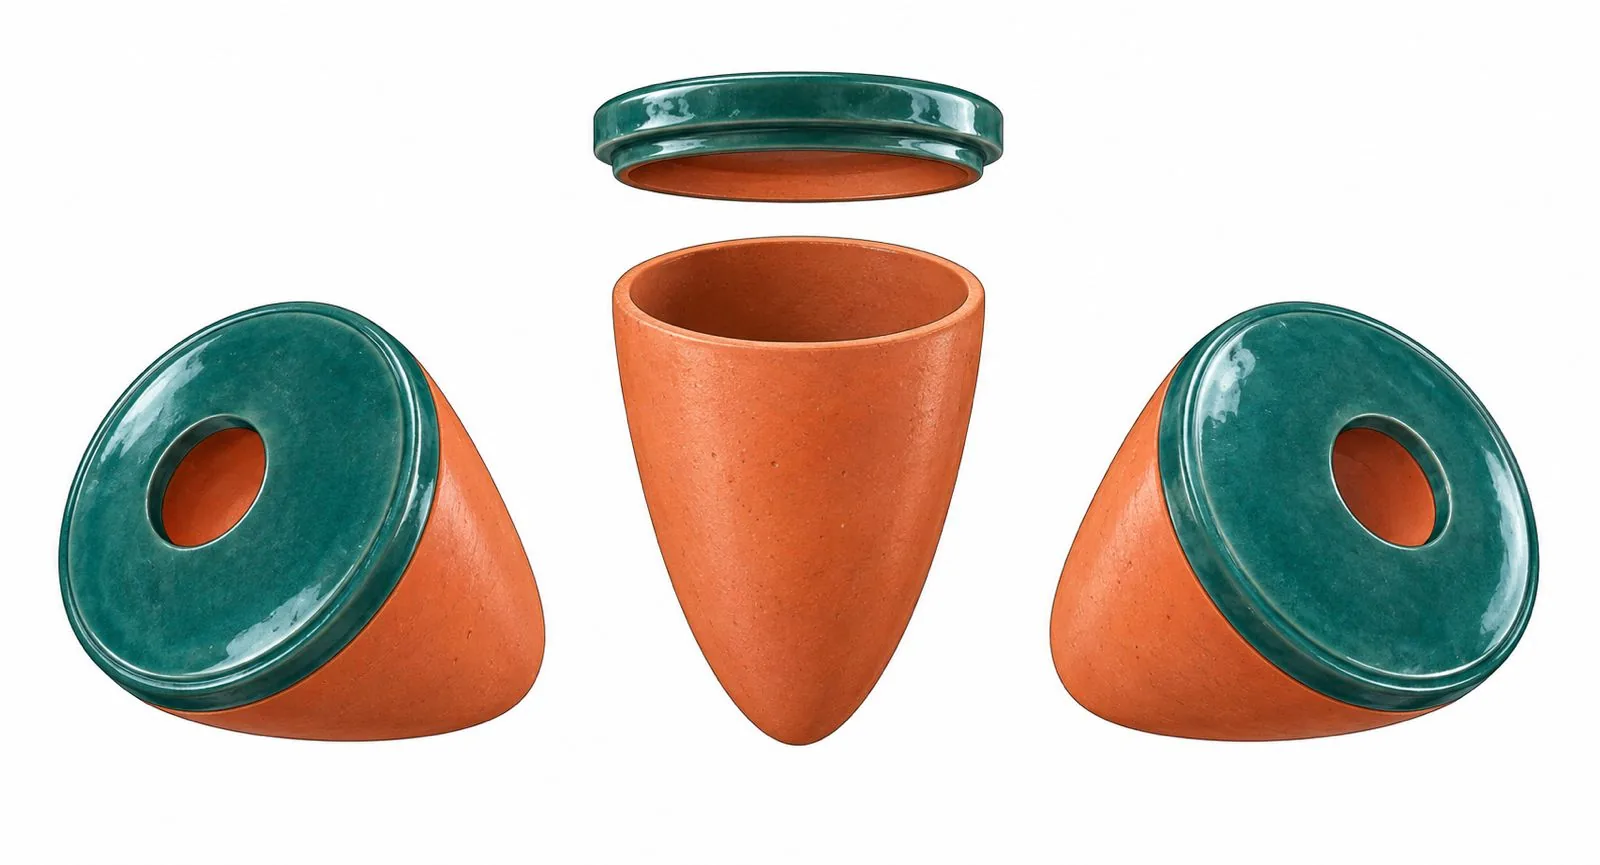
The difference is about more than the container. It concerns the direction of mycelial growth, the position of its reserves, and what remains in the soil at the end of the cycle.
| In practice | Traditional sowing | With a POD |
|---|---|---|
| Growth direction | From the sown grains, mycelium spreads in all directions, including downward. | The opening directs mycelium toward the surface, where fruiting is prepared. |
| Energy and sclerotia | Growth disperses; some reserves may form too deep to be well positioned. | Initial growth is directed to limit dispersed effort and favor sclerotia close to the surface. |
| Inoculum between seasons | Grains remain mixed with the soil and sustain activity that continues to draw on beneficial bacteria. | The POD is removed after harvest with the initial inoculum to conserve these bacterial resources. |
| External nutrition | The connection depends on which areas of the bed have actually been colonized. | The POD creates a localized interface: nutrient bag openings are placed over identifiable mycelial points. |
| The bacterial environment | Sowing does not provide a dedicated ceramic interface for bacteria. | Terracotta contains iron oxide; its pores retain beneficial bacteria, including Pseudomonas putida. |
| The next cycle | The initial nutrient substrate cannot be removed separately from the soil. | The ceramic is recovered, dried, emptied, and prepared to receive fresh mycelium. |
The POD makes cultivation easier to organize. Soil, strain, water, shade, and temperature remain decisive for the harvest.
From rich to poor.
From food to reserves.
Mycelium explores and connects two environments: a concentrated nutrient reserve and relatively poorer soil. It accumulates resources and then forms sclerotia, the storage structures that prepare for fruiting.
With traditional sowing, mycelium explores in all directions. This dispersion uses its resources and can position sclerotia too deep. With the POD, the starting food remains inside the ceramic, and the lid opening directs growth toward the surface. The aim is to concentrate this initial growth in the zone where fruiting is prepared.
Grains left directly in the soil can prolong mycelial activity between seasons and its consumption of beneficial bacteria. Removing the POD takes away the initial inoculum and its nutrient substrate. In our growing practice, this removal helps preserve bacterial resources for the next cycle.
01 · Inside the POD
The rich medium: the nutrient substrate carries the mycelium and feeds its initial growth.
02 · Around the POD
Living soil: mycelium exits through the opening and explores a poorer medium.
03 · Through the season
Reserves: sclerotia form. Cold, water, and light support the rest of the cycle.
Mycelium does not grow alone.
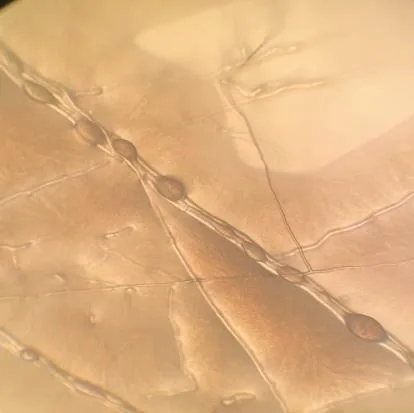
Bacterial life is part of our growing process. We pay particular attention to Pseudomonas putida, whose presence varies with soil and previous crops.
Terracotta contains iron oxide. Its pores act as bacterial traps: they offer retention points in contact with the mycelium, particularly for Pseudomonas putida. In our approach, their exchanges contribute to nutrition, including lipid nutrition, during vernalization.
Bacteria are introduced after organic soil preparation, by watering the day before inoculation. Ceramics, mycelium, and soil then participate in the same growing environment.
Understand probiotic preparationSimplicity in the garden.
A managed growing system on the farm.
Its nutrition is inside.
Self-contained for nutrition, the Gardener POD makes it possible to start on a small scale. Kits of 3, 6, or 12 PODs provide the starting point; you prepare the site and manage water, shade, and temperature.
There is no routine connection of supplementary nutrient bags. The focus is on the soil and observing the season.
Explore the US Gardening KitNutrition to connect.
On a larger growing area, the POD PRO is used with bags of sterilized grains. One 3-liter bag serves two PODs, with its openings in contact with colonized areas.
The connection is made when mycelium spreads over about 6–8 inches (15–20 cm), generally 7–10 days after installation under favorable conditions. This localized interface maximizes contact between the bag openings and colonized areas. The POD PRO pushes into the soil without a pre-dug hole and is easily removed: a practical detail when installing hundreds.
Prepare a professional growing projectJust beneath the soil.
Close to living systems.
For Importuna, Sextelata, and Eximia, inoculate in autumn at a falling temperature of 64°F (18°C), measured inside the tunnel at the warmest time of day. Rufobrunnea is inoculated on the first day of summer. Thoroughly soak the site before installation.
- Crumble the mycelium inside its sealed bag, then fill the POD generously without compacting it.
- Install PODs in a staggered pattern on prepared beds.
- Cover the lid with ¾–1¼ inches (2–3 cm) of soil. Level the surface without creating a small mound.
- Protect the bed and maintain moisture. Mycelium can develop underground before becoming visible.
Properly buried
2–3 cm of soil above the lid. The bed surface remains flat.
Avoid
A POD that sits too high. Adding a mound is not a substitute for sufficient burial.
Depth is measured above the lid.
Installation is only the beginning.
Observe initial growth
Under favorable conditions, mycelium becomes visible in less than a week. Cold can make its progress less obvious.
Understand this stageLet reserves mature
The winter phase transforms the growing bed. Sclerotia prepare for fruiting over 1½–4 months, depending on climate.
Understand this stageSupport mushroom growth
In spring, the beginning of harvest is associated with soil temperatures of 43–45°F (6–7°C) for Importuna and 46–48°F (8–9°C) for Sextelata. Support growth with water, light, and protection.
Understand this stageThe season ends.
The POD remains.
After harvest, uncover the containers and let them dry with their contents, then empty them. Prepare the terracotta and store it in its packaging to reduce breakage.
The next season begins with fresh mycelium in the same PODs. Refills allow you to put the containers you already own back into cultivation.
Cultivation we understand.
Practices we share.
Improving production potential, repeating cultivation, and preserving the qualities of morels: these goals take on meaning through careful monitoring of each growing site.